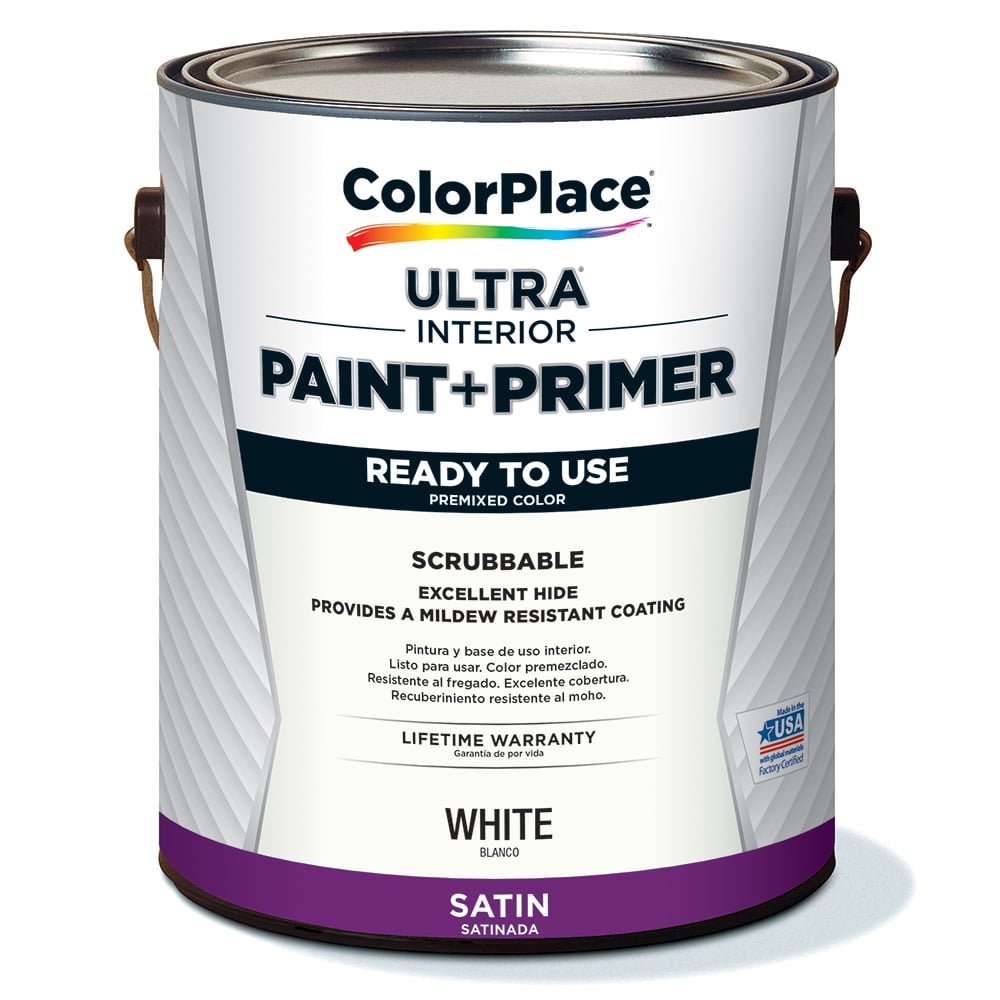
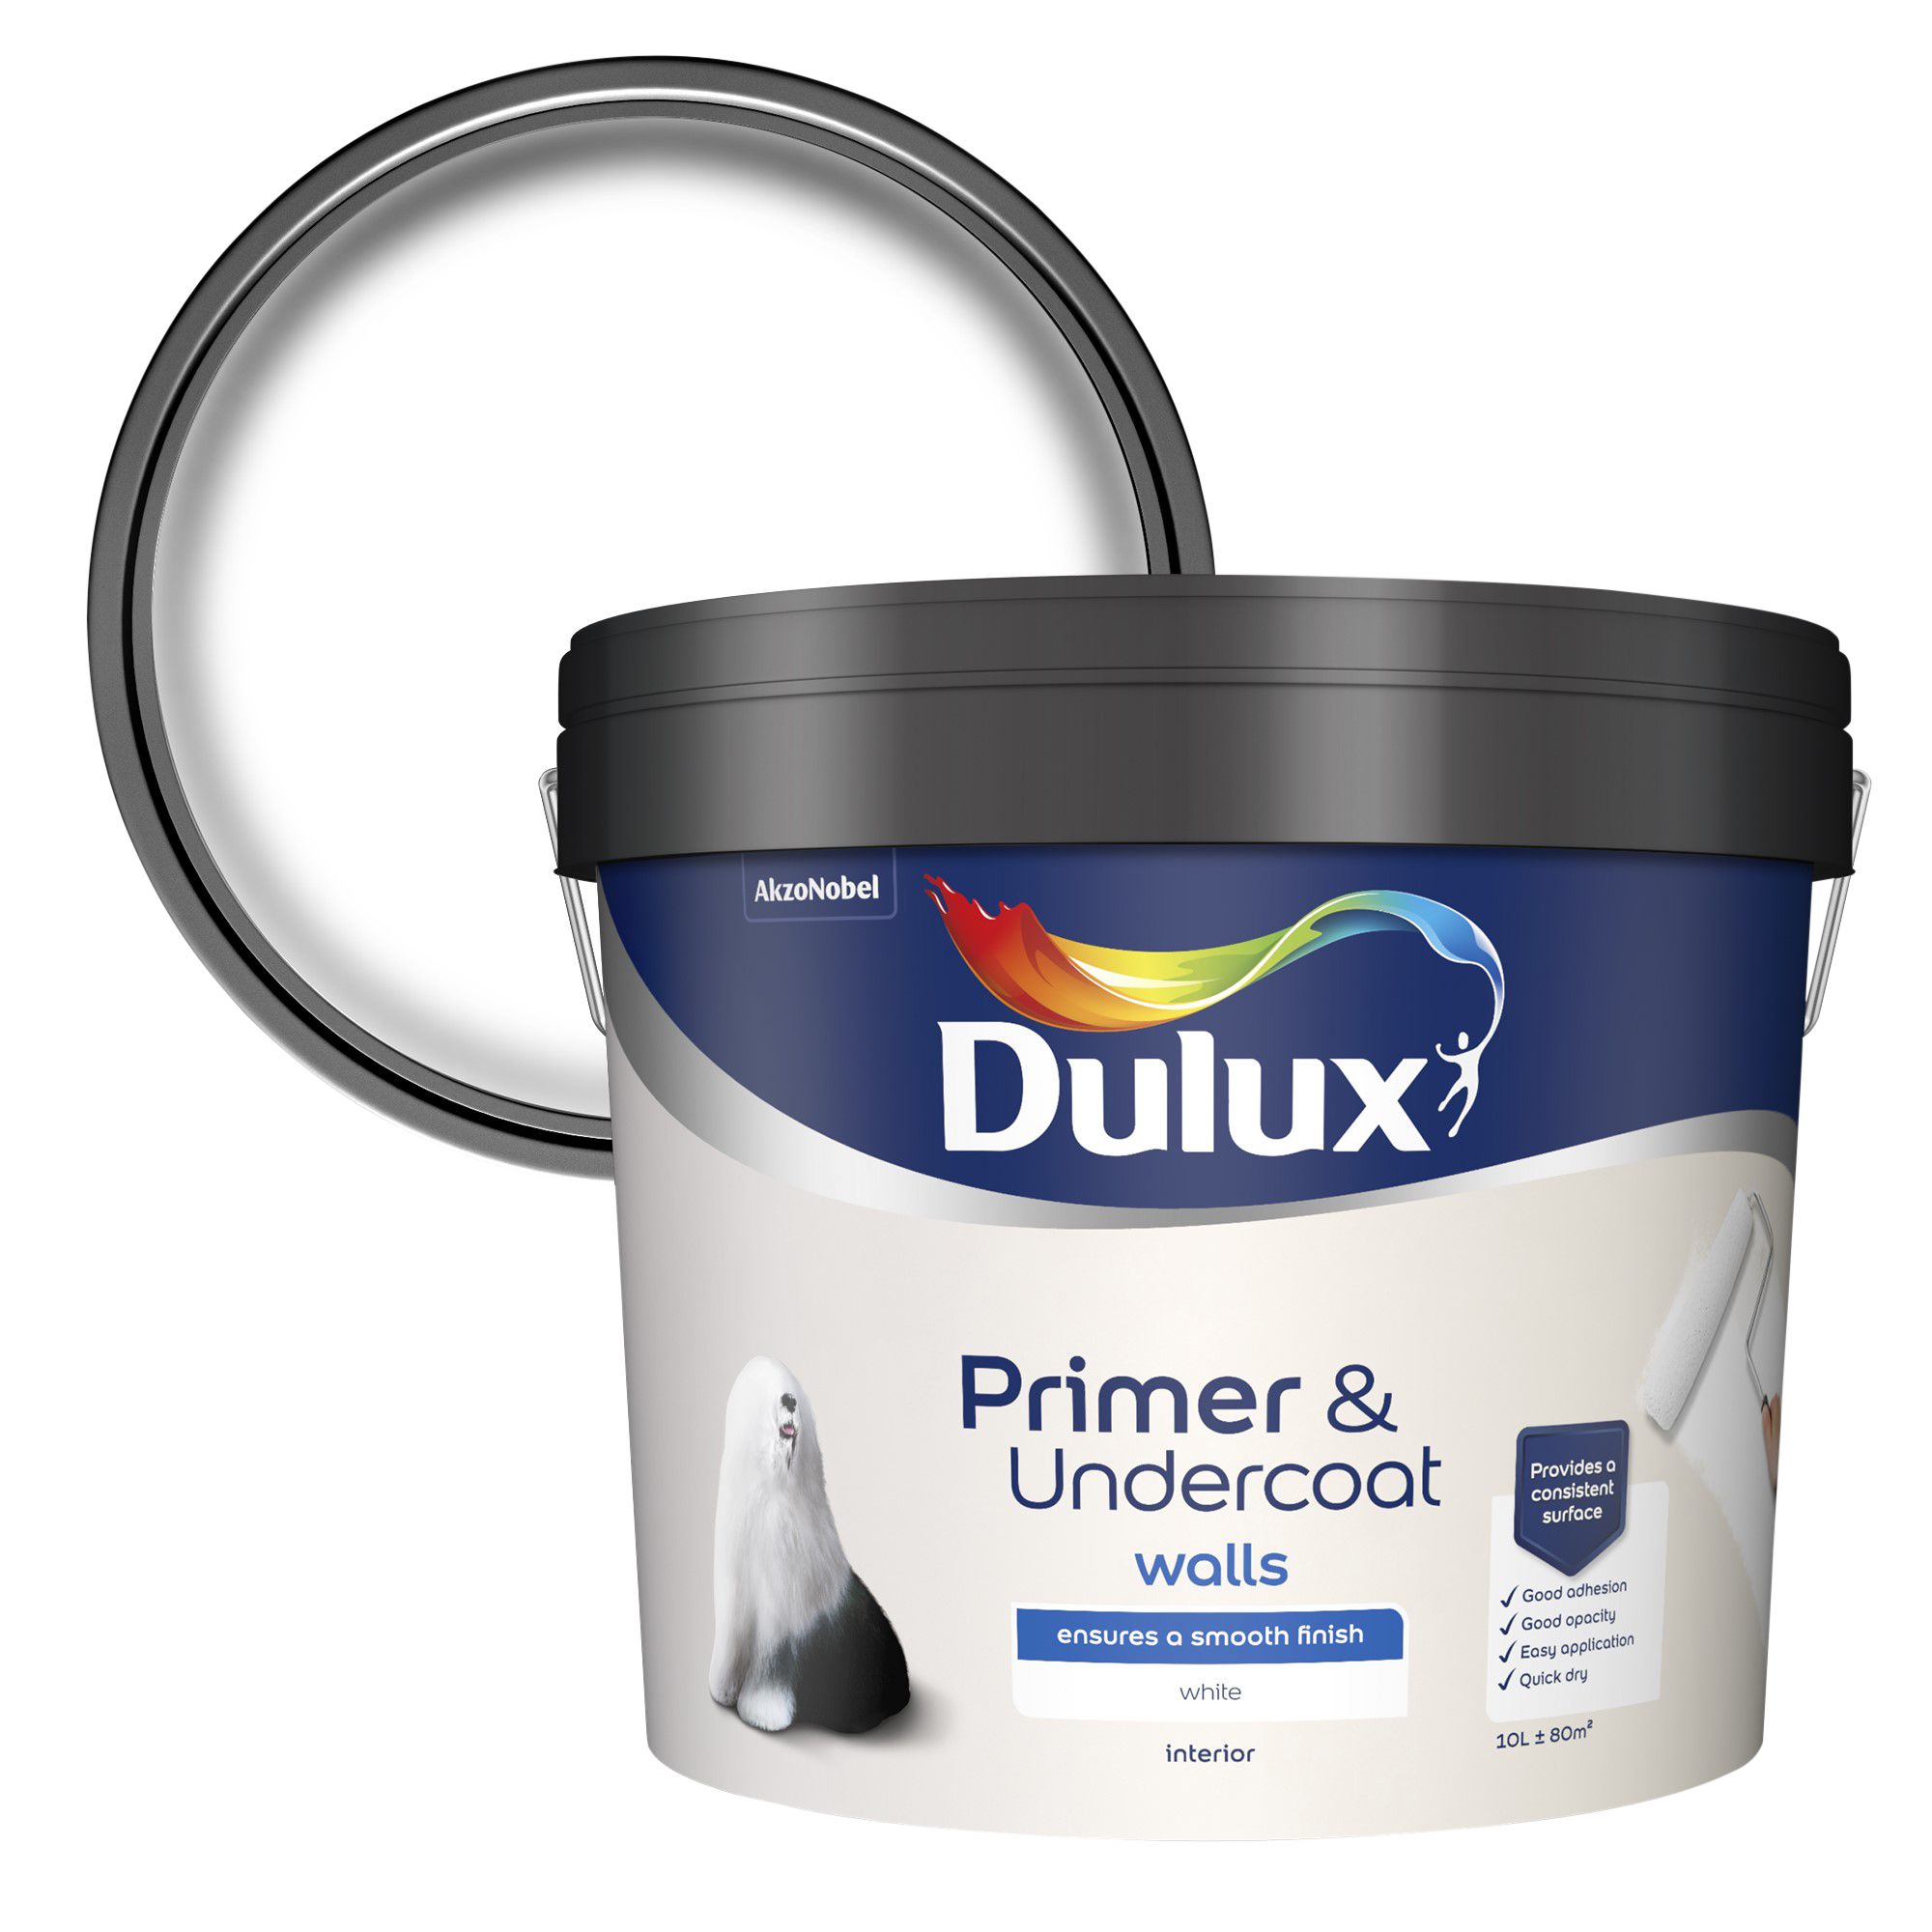
Top Paint and Primer Options for Bathrooms
Choosing the right paint and primer for your bathroom is crucial for creating a durable, moisture-resistant, and aesthetically pleasing finish. Bathrooms are susceptible to humidity, moisture, and mildew, so selecting products specifically designed for these conditions is essential.
Popular Paint and Primer Options for Bathrooms
The following table compares and contrasts different popular brands and types of bathroom paint and primer, highlighting their key features, pros, and cons:
| Brand | Type | Key Features | Pros | Cons |
|---|---|---|---|---|
| Sherwin-Williams | Acrylic Latex | Moisture-resistant, mildew-resistant, scrubbable, durable | Excellent durability, easy to clean, good adhesion | May require multiple coats for full coverage |
| Benjamin Moore | Acrylic Latex | Moisture-resistant, mildew-resistant, scrubbable, durable, low VOC | Excellent coverage, durable, low odor, good for sensitive individuals | More expensive than some other options |
| Valspar | Acrylic Latex | Moisture-resistant, mildew-resistant, scrubbable, durable, affordable | Affordable, good coverage, easy to apply | May not be as durable as some higher-end brands |
| Kilz | Oil-based Primer | Seals stains, prevents mildew growth, provides a smooth surface | Excellent adhesion, seals stains effectively, durable | Strong odor, long drying time, requires mineral spirits for cleanup |
Specific Paint and Primer Products for Bathrooms
Here are examples of highly recommended paint and primer products for bathrooms:
- Sherwin-Williams Emerald Interior Acrylic Latex Paint: This paint offers excellent durability, mildew resistance, and scrubbability, making it ideal for high-traffic areas like bathrooms. It also features a low VOC formula, minimizing harmful emissions.
- Benjamin Moore Aura Interior Acrylic Latex Paint: Known for its exceptional coverage, durability, and low odor, Aura is a premium choice for bathrooms. Its advanced technology ensures a smooth, even finish, while its mildew-resistant formula helps prevent mold growth.
- Valspar Reserve Interior Acrylic Latex Paint: This affordable option provides good coverage, mildew resistance, and scrubbability. It’s a reliable choice for budget-conscious homeowners who want a durable finish.
- Kilz 2 Premium Primer: This oil-based primer effectively seals stains, prevents mildew growth, and provides a smooth surface for paint. It’s a good choice for surfaces with stubborn stains or high moisture levels.
Differences Between Oil-Based and Water-Based Paints and Primers for Bathrooms
Oil-based paints and primers offer excellent adhesion, durability, and stain-blocking properties. They are also more resistant to moisture and mildew than water-based options. However, oil-based products have a strong odor, require longer drying times, and need mineral spirits for cleanup.
Water-based paints and primers are generally easier to apply and clean up, with lower odor and faster drying times. They are also more environmentally friendly than oil-based options. However, water-based products may not offer the same level of adhesion, durability, or stain-blocking as oil-based products.
In general, water-based paints and primers are a good choice for bathrooms with low moisture levels and minimal staining. However, if you’re dealing with high moisture levels, stubborn stains, or require the highest level of durability, oil-based products may be a better option.
Preparing and Applying Paint and Primer in Bathrooms: Best Paint And Primer For Bathroom

A well-prepared bathroom surface is crucial for a smooth and long-lasting paint job. Before applying paint and primer, it’s essential to properly clean, sand, and patch the surface to ensure optimal adhesion and a professional finish.
Preparing the Bathroom Surface
Thorough preparation is key to achieving a successful paint job. This involves cleaning, sanding, and patching the bathroom surface to create a smooth and even base for the primer and paint.
- Clean the Surface: Remove all dirt, dust, soap scum, mildew, and grease using a mild detergent and warm water. Pay special attention to areas around the shower, tub, and sink. For stubborn stains, use a mildew remover or a cleaning solution specifically designed for bathroom surfaces. After cleaning, allow the surface to dry completely before proceeding to the next step.
- Sand the Surface: Sanding helps to smooth out rough patches and create a better surface for the primer to adhere to. Use fine-grit sandpaper (120-grit or higher) to gently sand the walls and trim. Focus on any imperfections, such as cracks, holes, or bumps. After sanding, remove all dust and debris with a damp cloth.
- Patch and Repair: Fill any cracks, holes, or imperfections with a suitable patching compound. Choose a compound specifically designed for bathrooms, as it will be resistant to moisture and mildew. Apply the compound according to the manufacturer’s instructions and allow it to dry completely before sanding it smooth.
Applying Primer and Paint, Best paint and primer for bathroom
Once the bathroom surface is prepared, you can apply the primer and paint. This step requires careful application techniques and appropriate tools to ensure a smooth and even finish.
- Apply Primer: Primer helps the paint adhere better to the surface and creates a uniform base for a more even finish. Choose a primer specifically designed for bathrooms, as it will be resistant to moisture and mildew. Apply the primer with a brush or roller, following the manufacturer’s instructions. Allow the primer to dry completely before applying paint.
- Apply Paint: Choose a paint specifically designed for bathrooms, as it will be mildew-resistant and durable. Apply the paint with a brush or roller, using long, even strokes. For best results, apply two coats of paint, allowing each coat to dry completely before applying the next.
Tips for Optimal Results
Following these tips can help you achieve a professional-looking paint job in your bathroom:
- Use Appropriate Tools: Use a high-quality brush or roller specifically designed for painting walls and trim. For smaller areas and corners, use a brush. For larger areas, use a roller.
- Ensure Proper Ventilation: Open windows and doors to ensure adequate ventilation during the painting process. This will help to prevent fumes from building up and allow the paint to dry properly.
- Allow Adequate Drying Time: Allow each coat of primer and paint to dry completely before applying the next. The drying time will vary depending on the type of paint and primer used, so check the manufacturer’s instructions for specific recommendations.
Best paint and primer for bathroom – Choosing the best paint and primer for your bathroom is crucial for achieving a durable and beautiful finish. A good primer will help the paint adhere better and prevent moisture damage, while the right paint will offer mildew resistance and easy cleaning.
To add visual interest and enhance the bathroom’s ambiance, consider incorporating a paint texture for bathroom. This can range from subtle stippling to bolder finishes, adding depth and character to the space. Once you’ve chosen your paint and primer, and decided on a texture, you’ll be well on your way to creating a bathroom that’s both functional and aesthetically pleasing.
Choosing the right paint and primer for your bathroom is crucial to ensure a long-lasting, beautiful finish. Moisture and humidity are constant challenges in this space, and if you’re experiencing peeling paint, you might be wondering why. Understanding the reasons behind peeling paint, like improper preparation or using the wrong type of paint, can help you make informed choices.
Why is my paint peeling in the bathroom provides valuable insights into this issue. By selecting a high-quality, moisture-resistant paint and primer specifically designed for bathrooms, you can avoid these problems and create a durable, beautiful finish.
